
Building a video game display cabinet that keeps dust out isn’t about sealing it shut like a vault. It’s about smart design-choosing the right materials, minimizing gaps, and making cleaning easy. If you’ve ever opened a cabinet to find dust coating your vintage arcade monitors or controller ports, you know this isn’t just about looks. Dust clogs cooling fans, degrades screen clarity, and shortens the life of electronics. The goal isn’t perfection. It’s control.
Start with the Right Material
Forget cheap particle board. It soaks up moisture like a sponge and falls apart when you screw into it. Plywood? Better, but its layered edges leave rough gaps where dust hides. The best choice for a dust-resistant cabinet is Medium Density Fiberboard (MDF) with a laminated melamine finish. This isn’t just a suggestion-it’s what commercial arcade builders like Dream Arcades use because it’s 2 to 10 times stronger than particle board and resists dust penetration far better. MDF itself is dusty to work with. Cutting it releases fine particles that stick to lungs and surfaces. That’s why you want the melamine-coated version: it seals the surface before you even start. If you can’t find pre-laminated MDF, use MDO (Medium Density Overlay)-a plywood core with thin MDF layers bonded to both sides. It’s easier to sand, holds screws better, and gives you smooth edges without the mess of raw MDF.Protect the Screen Like a Pro
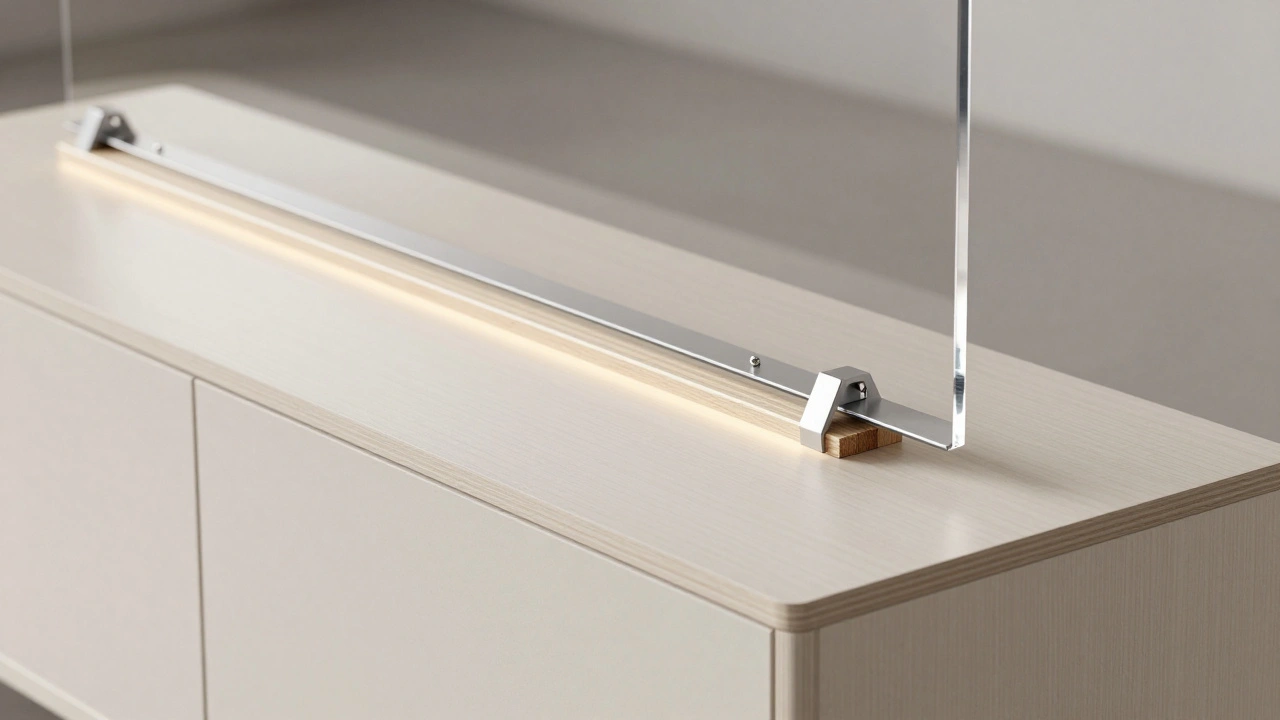
Your monitor is the heart of the cabinet. Dust on the screen? It’s annoying. Dust behind it? That’s a problem. The best solution is a clear, sealed overlay. Acrylic (plexiglass) is the go-to material. It’s lighter than glass, won’t shatter, and cuts easily with a jigsaw or score-and-snap method. A 1/8-inch thickness is perfect-strong enough to handle light bumps, thin enough to not distort the image. Mount it with aluminum L-channel along the edges. This creates a clean, straight border with no exposed wood grain. Behind the channel, slip in thin wood shims to press the acrylic firmly against the cabinet frame. This seal stops dust from sneaking in around the edges. Don’t glue it down-keep it removable. You’ll need to clean the screen or replace the acrylic in a few years. For the bezel frame around the screen, use MDF. Its uniform structure lets you sand a perfect 45-degree chamfer on the inside edge. This creates a smooth transition from the frame to the acrylic, leaving no crevices for dust to hide. Sand it smooth, wipe it down with rubbing alcohol, then paint it. No primer? Skip it. Just make sure the surface is clean and dry before you apply paint.Seal Every Edge, Every Joint
Dust doesn’t come through walls. It slips through gaps. Every screw hole, every seam, every corner is a potential entry point. Use wood filler or caulk to seal joints before painting. Don’t just slap on a coat-sand between coats. Three thin layers of paint are better than one thick one. Each layer seals more. For drawers or storage compartments inside the cabinet, use plywood for the sides and hardboard for the bottom. Hardboard is thin, strong, and lightweight. It doesn’t eat up drawer space, and its smooth surface resists dust better than particle board. Seal the edges with paint or contact paper. If the drawer slides are exposed, cover them with a thin strip of adhesive vinyl to keep dust from clinging to metal.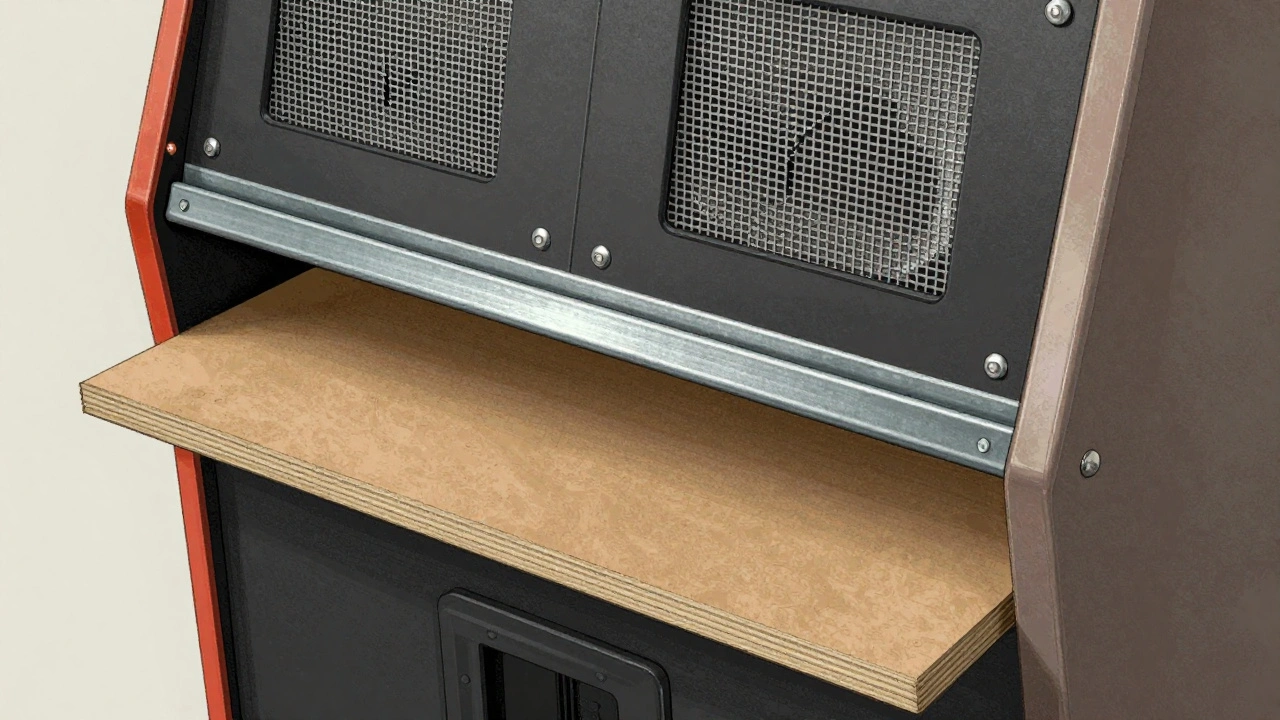
Design Access Without Compromise
You need to get inside. For cooling. For repairs. For swapping out games. But every panel you open is a dust leak. The trick? Make access points intentional and minimal. Use magnetic panels. Apply magnetic foil to the inside of a cabinet door, then glue steel strips to the frame. When the door closes, it snaps shut with zero gaps. No screws. No latches. Just a seamless seal. This is how high-end custom cabinets hide secret compartments. If you need ventilation, don’t cut big holes. Use two small, low-profile vents on the back panel, covered with fine mesh. Aluminum screen mesh from a hardware store works. It’s cheap, rust-resistant, and blocks dust while letting air through. Mount it behind a removable panel so you can clean it every few months.Artwork That Doesn’t Trap Dust
Graphics on the cabinet? Great. But if you’re using adhesive vinyl or printed posters, how you mount them matters. Avoid recessed panels. Those create pockets where dust piles up. Use a transparent screw mounting system. Drill small holes through the artwork and cabinet, then use clear acrylic screws to hold it in place. The artwork sits flush against the surface. No gaps. No edges. No dust traps. And if you want to change the art later? Just unscrew and swap. No residue. No mess.Keep It Clean-Because Nothing’s Perfect
Even the best cabinet will collect dust over time. That’s normal. The difference between a clean cabinet and a dirty one is maintenance. Wipe down the acrylic screen weekly with a microfiber cloth and isopropyl alcohol. Clean the vents monthly. Open the back panel every three months and vacuum the inside with a brush attachment. Before you install any artwork or decals, wipe every surface with a lint-free cloth and alcohol. Fingerprints and dust under vinyl? They cause bubbles. You’ll regret it later.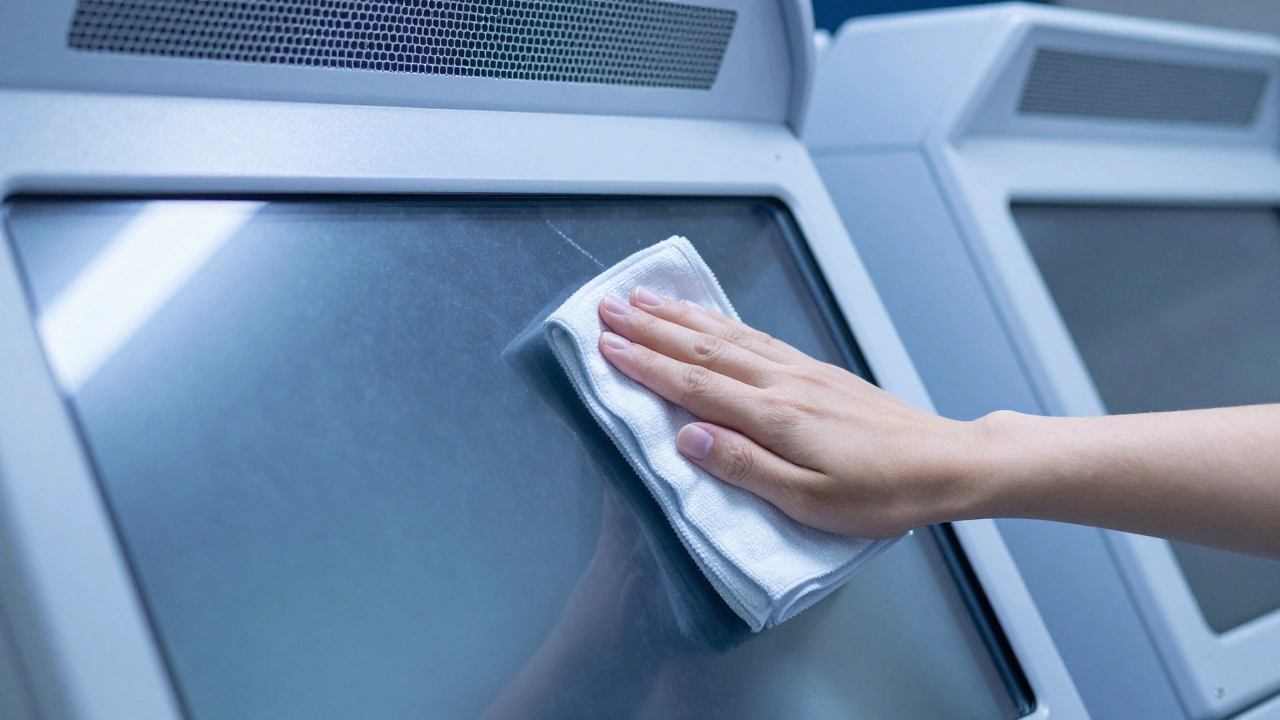
Commercial vs. DIY: What You Can Learn
Commercial arcade cabinets don’t use particle board. They don’t leave raw wood edges. They don’t rely on glue to hold things together. They use sealed, consistent materials and precision assembly. You don’t need a factory to do that. You just need to copy their priorities. DIY builders often cut corners with plywood and posterboard. They focus on looks, not longevity. The result? Dusty screens, warped panels, and failing electronics. If you want your cabinet to last 10 years, build it like a commercial machine. Use MDF. Seal every edge. Use acrylic. Install magnetic panels. Clean it regularly.What You Can’t Do
You can’t make a cabinet 100% dust-proof. Cooling fans need airflow. Access panels need to open. Electronics need ventilation. Trying to seal it completely will trap heat and fry your components. Dust resistance isn’t about total blockage-it’s about minimizing, controlling, and making cleanup easy. Skip the fancy air filters or ionizers. They add cost, complexity, and noise. A well-designed cabinet with regular cleaning does more than any gadget.Final Checklist
- Use laminated MDF or MDO for the main cabinet structure
- Install 1/8" acrylic over the screen with aluminum L-channel and wood shims
- Seal all joints with wood filler, then sand and paint in three thin coats
- Use hardboard for drawer bottoms and seal the edges
- Install magnetic panels for access points
- Use transparent screws for artwork mounting
- Add small, mesh-covered vents for cooling
- Wipe surfaces with alcohol before applying any decals or paint
- Clean the screen weekly and vacuum the inside every 3 months
Build this right, and your cabinet won’t just look good-it’ll last. No more dust clouds when you open the door. No more blurry screens. No more fried electronics. Just clean, clear gameplay-year after year.