
Picture this: you just finished setting up your dream gaming room. The lights are dimmed, the screens are glowing, and your favorite game is loading. Then you reach for the power button-and pull out the wrong cable. The TV goes dark. The controller dies. The router disconnects. Suddenly, your perfect setup feels like a tangled mess of wires you didn’t plan for. This isn’t just annoying-it’s preventable.
Most people think cable management is about looks. It’s not. It’s about safety, function, and sanity. When you’ve got a PlayStation 5, Xbox Series X, a gaming PC, a soundbar, a network switch, multiple monitors, and a dozen peripherals, you’re not just dealing with wires-you’re dealing with a system. And systems need structure.
Start With the Power
Before you even touch a zip tie, ask yourself: where is this stuff getting power? Too many setups rely on daisy-chained power strips. You plug one strip into another, then cram in the console, the PC, the lights, the fan, and the charging station. That’s a fire risk. Power strips aren’t designed to handle 10+ devices. They overheat. They trip. Sometimes, they melt.
The fix is simple: plug each major device directly into its own wall outlet. If you don’t have enough outlets, use a single high-quality surge protector with a 15-amp rating and a built-in circuit breaker. No stacking. No chaining. Just one clean line from wall to device. Label that strip. Write "CONSOLES" on it. That way, if something dies, you know exactly where to check.
Sort, Don’t Stack
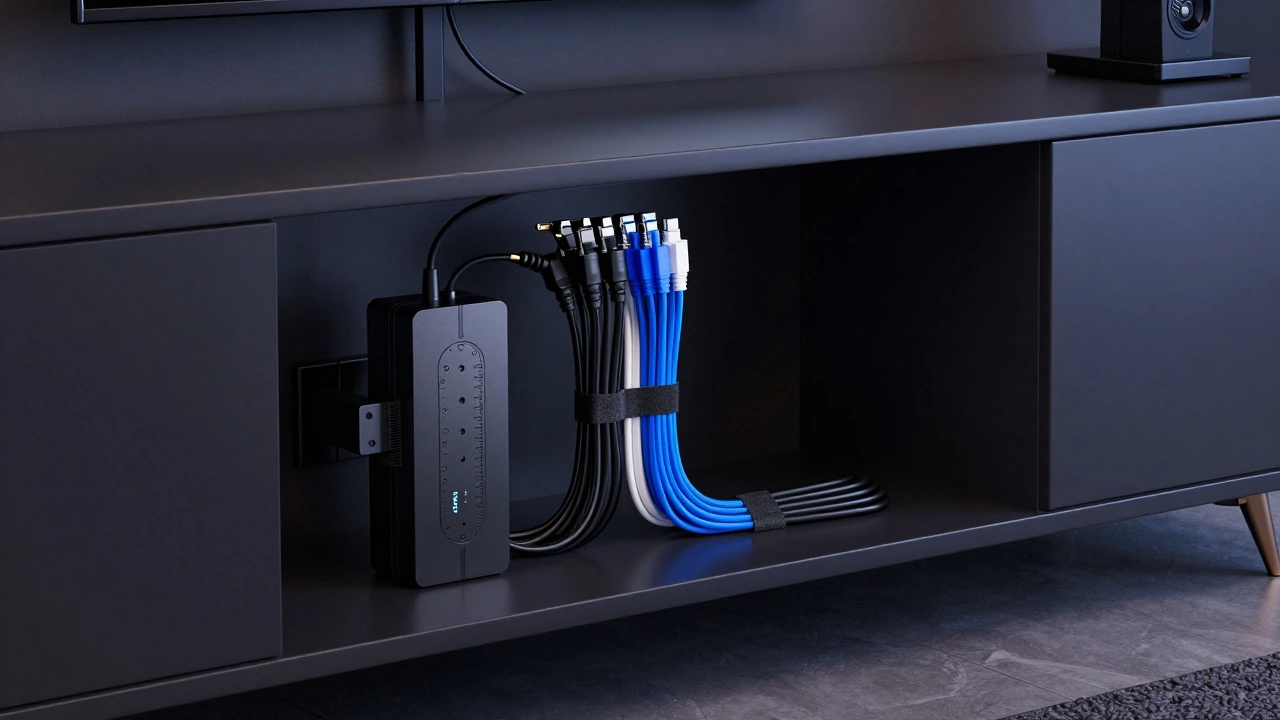
Not all cables are the same. HDMI, USB-C, Ethernet, power, audio-each has a job. Group them. Put all power cables together. Put all video cables together. Put all network cables together. Don’t just toss them in a pile behind the TV. Use your desk or cabinet as a natural divider. If your setup is on the left side of the room, route all left-side cables along the left edge. Right side? Right edge. This isn’t just neat-it’s lifesaving when you need to replace a broken HDMI cable at 2 a.m.
Pro tip: Use different colored cables where you can. A black HDMI, a white USB-C, a blue Ethernet. It sounds small, but it cuts troubleshooting time in half. You won’t need to trace a cable through a maze of wires-you’ll see it at a glance.
Hide the Mess, But Keep It Accessible
Running cables along the floor? Bad idea. They get stepped on. Kicked. Tripped over. Over time, the insulation cracks. Exposed wires mean shocks, shorts, or worse.
Instead, route cables behind furniture. Use adhesive cable clips to stick them to the back of your desk or media cabinet. Place them every 10-15 centimeters so they don’t sag or pull loose. For cables that need to cross open space-like from your console to a wall outlet-a plastic conduit works wonders. You can paint it to match your wall. Black conduit for power. White for HDMI. It disappears.
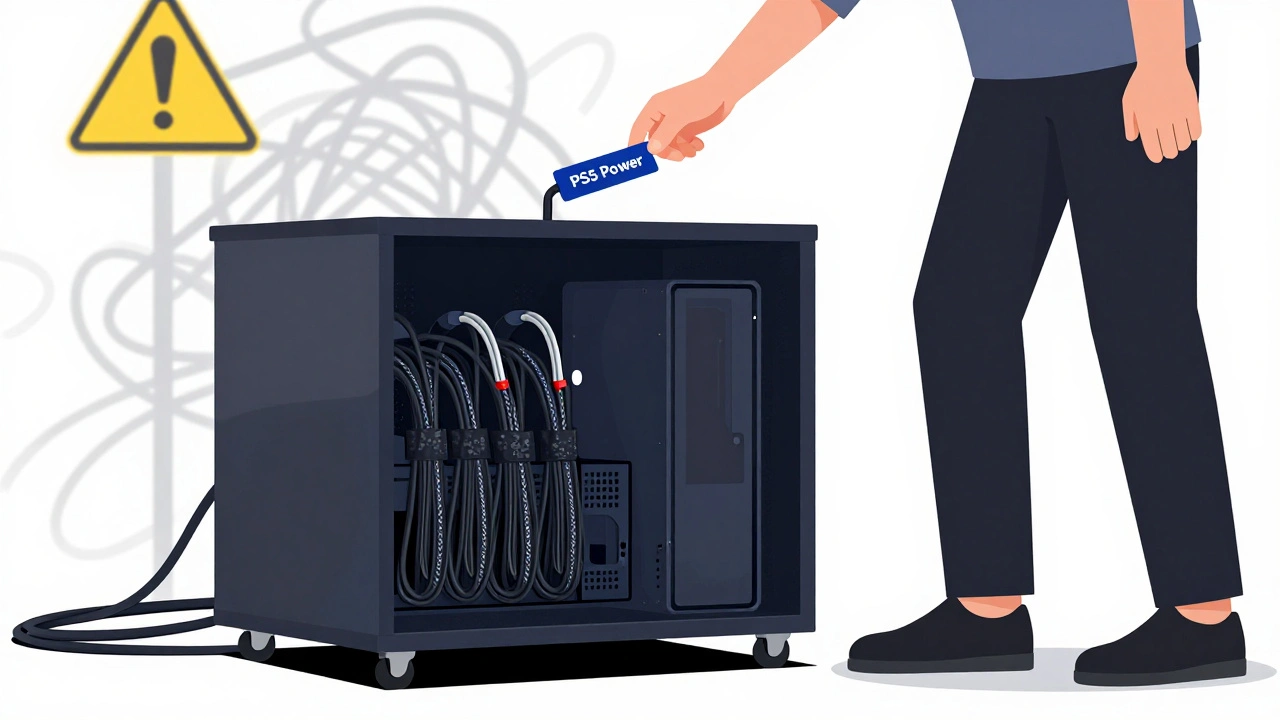
And if you’re installing new furniture? Go for a media cabinet with rear access. Or better yet, get one on wheels. Casters let you roll the whole unit out to plug in or swap cables. No more crawling behind the TV with a flashlight.
Label Everything
You might think you’ll remember which cable goes where. You won’t. Three months from now, when you upgrade your router or add a second monitor, you’ll stare at a wall of black wires and panic.
Use small label tags. Write "PS5 Power," "Xbox HDMI," "Router Ethernet." Stick them on each end of every cable. You can buy reusable labels for under $10 online. Or use masking tape and a Sharpie. Either way, do it now. It’s the single most useful thing you’ll do.
And don’t forget to label your power outlets too. Write "PS5," "PC," "Soundbar" next to each one. No more guessing which plug powers what. No more unplugging your router by accident.
Use the Right Tools
Not all cable ties are created equal. Those plastic zip ties? They’re permanent. Cut them off, and you’re left with stubs. Use Velcro straps instead. They hold tight, but you can undo them in seconds. Reuse them. Move them. Adjust them. Perfect for a gaming room where gear changes every year.
For bundles of cables-like the ones running from your console to the wall-use a braided sleeve. It looks clean, protects the wires, and keeps them from fraying. You can get them in black, white, or even RGB if you’re feeling fancy.
And if you’ve got a wall-mounted TV or a full AV rack? Install a cable management panel. These are metal or plastic strips with holes for cables to pass through. They keep everything aligned and prevent tangles between HDMI, optical, and Ethernet lines. Some even come with built-in routing channels. You can buy them from AV suppliers like Cable Matters or Tripp Lite.
Think Ahead-Because You’ll Upgrade
Here’s the truth: as soon as you get everything perfect, you’ll get a new console. Or a new monitor. Or a new sound system. That’s how gaming works.
So design for change. Leave extra space in your conduit. Don’t pack every inch of your cable tray. Keep at least 30% room for future cables. Use Velcro, not glue. Use removable clips, not nails. Plan for one more HDMI port, one more USB hub, one more power brick.
One guy I know spent six months building a flawless setup. Two months later, he got the PlayStation 6. He had to pull everything out. Why? Because he used zip ties and glued everything down. He had to start over. Don’t be that guy.
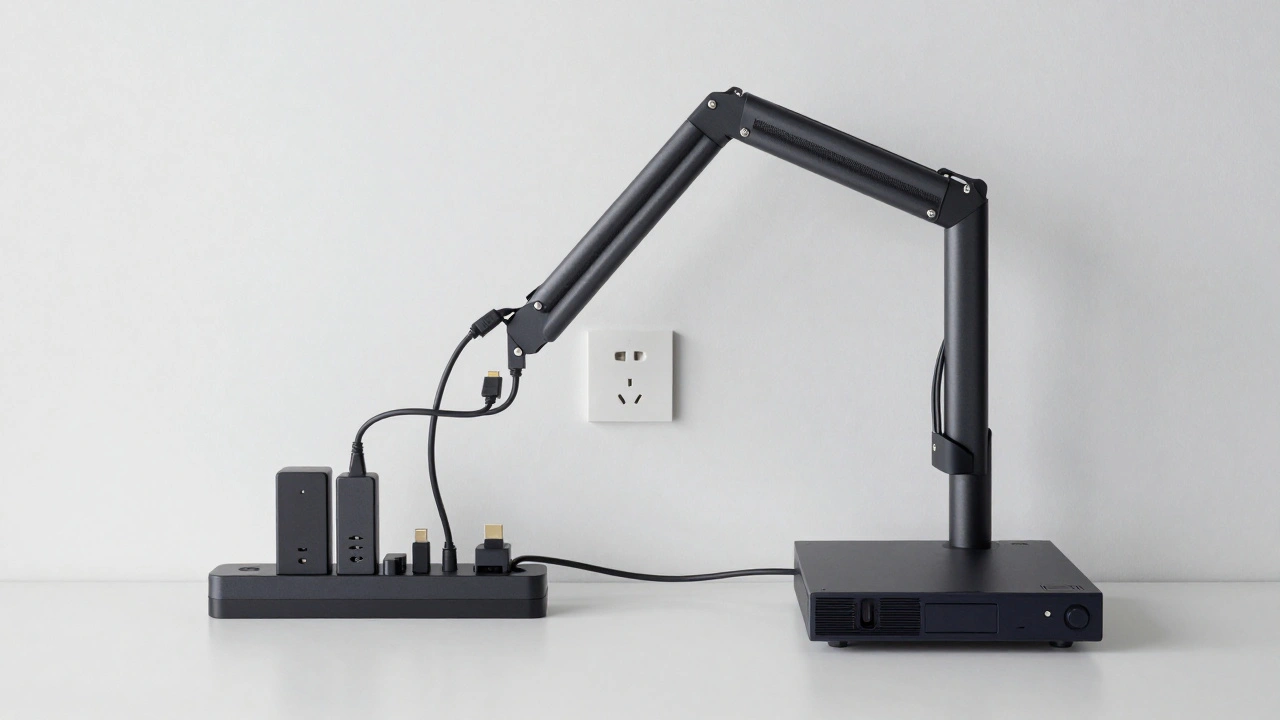
Monitor Arms That Work With You
If you’re using dual monitors for gaming or streaming, you’re probably drowning in cables behind them. That’s where monitor arms with built-in cable management come in. These arms have hollow channels inside their arms. You feed your HDMI and USB cables through them. The cables disappear. The monitors stay clean. No more wires dangling like spaghetti.
Some even have magnetic cable holders on the back. Just snap your charging cables into place. It’s sleek. It’s smart. And it’s not expensive-good ones start at $80.
Final Rule: Keep It Simple
There’s no need for fancy systems, hidden conduits under the floor, or custom-built cabinets. You don’t need to spend $500 on a "gaming cable management kit."
Just do these five things:
- Plug each device into its own outlet-no daisy chains.
- Group cables by type: power, video, network.
- Route them behind furniture using clips or conduit.
- Label every cable and every outlet.
- Use Velcro, not zip ties.
That’s it. No magic. No tech. Just smart habits.
Your setup will look better. It’ll run safer. And when you need to fix something, you won’t feel like you’re defusing a bomb.
Do I need to buy special cable management products?
No. You don’t need expensive kits. Basic Velcro straps, adhesive clips, and a roll of label tape cost under $20. Most "gaming cable management systems" are just repackaged versions of these. Stick with what works: organization, labeling, and accessibility. Save your money for games, not gimmicks.
Can I run cables under the carpet?
Yes, but only if you’re careful. Use flat, low-profile cable clips spaced every 10 centimeters along the edge of the carpet. Don’t run high-power cables under thick rugs-they can overheat. Stick to low-voltage cables like Ethernet or USB. Always check for wear every few months. If the insulation looks cracked, replace it immediately.
Why is labeling so important?
Because you’ll forget. You’ll think, "I’ll remember which one goes to the Xbox," and then you’ll upgrade your router and suddenly everything’s unplugged. Labels take 30 seconds per cable but save you hours of frustration later. Even if you’re the only one using the setup, label it. Future-you will thank you.
Should I hide all cables completely?
No. Hiding everything makes maintenance impossible. The goal isn’t invisibility-it’s accessibility. Use conduit or trays that let you see and reach the cables. If you need to swap an HDMI cable, you shouldn’t have to dismantle half the room. Leave room to breathe. Leave room to fix.
What’s the biggest mistake people make?
Piggybacking power strips. Plugging one extension cord into another to save outlets is the #1 cause of overheating and fires in gaming rooms. Use a single high-quality surge protector with enough outlets. If you need more, install a second outlet on the wall. It’s cheaper and safer than risking a fire.