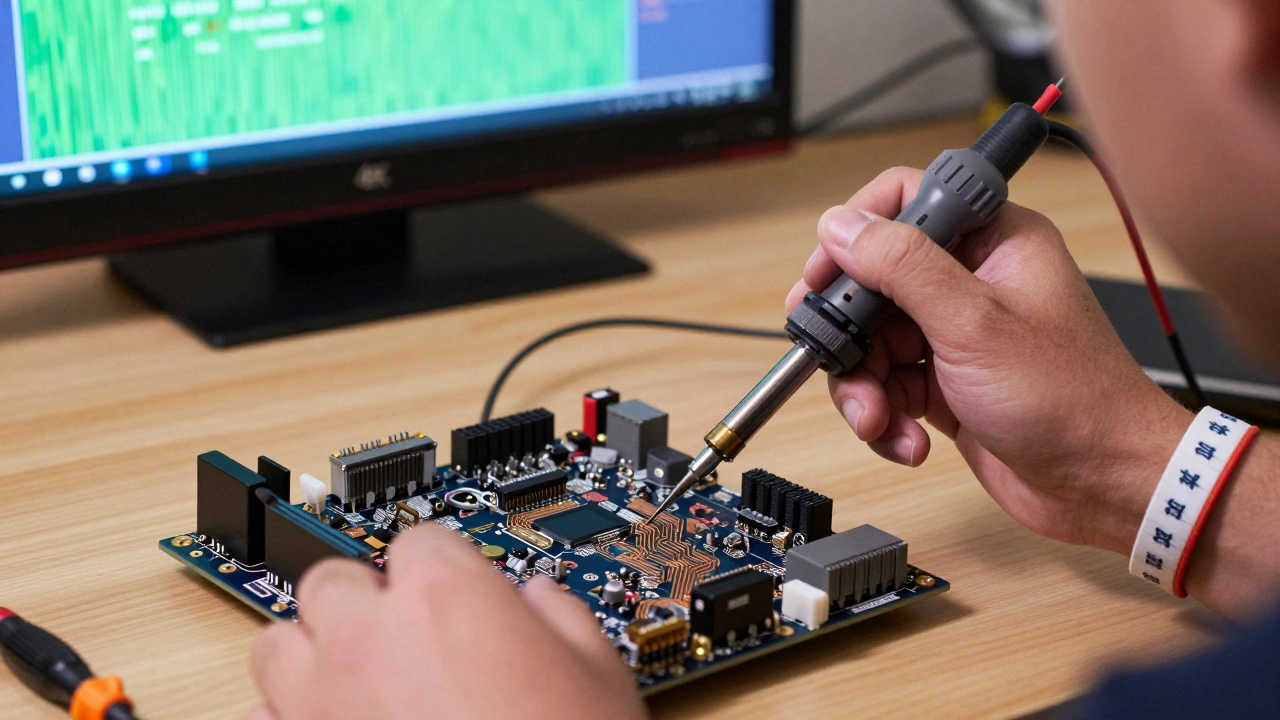

Connecting a Nintendo Entertainment System or Sega Genesis to a modern 4K TV isn’t as simple as plugging in an HDMI cable. These classic consoles were built for CRT TVs with composite or RF inputs - not digital displays. If you want crisp, clean video without the blur, scanlines, or color bleeding, HDMI modding is the best way to upgrade your retro setup. But it’s not just about buying an adapter. True HDMI mods involve opening up your console, soldering wires, and installing custom circuit boards. This guide walks you through exactly how to do it - safely, correctly, and without ruining your vintage hardware.
Why HDMI Modding Beats External Converters
You’ve probably seen those little RCA-to-HDMI boxes at electronics stores. They’re cheap, easy to use, and require zero modification. But here’s the catch: they don’t fix the problem. They just hide it. The video signal from your NES or SNES is still analog, low-resolution, and noisy. The converter box tries to upscale it, but the result is often blurry, laggy, or full of artifacts. It’s like putting a digital filter on a scratched DVD. True HDMI mods replace the internal video circuitry. They take the raw digital signals straight from the console’s CPU and PPU chips - before they get turned into analog garbage. The result? A clean, sharp 480p or even 720p signal that looks like it was made for modern screens. No lag. No noise. Just pure pixel-perfect output. External converters work fine if you’re not planning to open your console. But if you care about image quality and want to preserve your hardware long-term, a proper mod is the only real solution.The Two Main Types of HDMI Mods
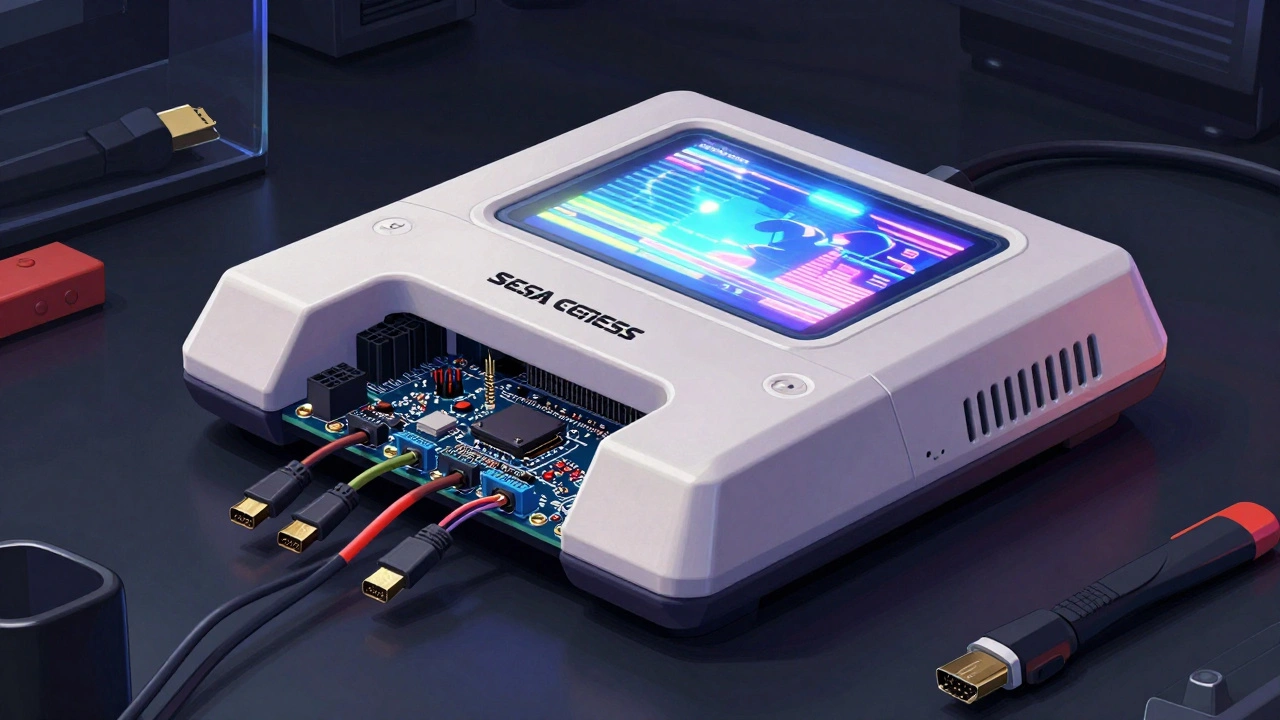
There are two major approaches to HDMI modding: invasive mods that require soldering directly to the motherboard, and modular kits that simplify the process with pre-designed boards. The most common and reliable options are the Kevtris mod for NES and the Electron Analog kit for PS2, Xbox, and Dreamcast.Kevtris HDMI Mod (NES, SNES)
The Kevtris mod is the gold standard for Nintendo systems. It doesn’t just add HDMI - it replaces the entire video output path. Here’s how it works:- You remove six screws from the NES shell and open the case.
- You carefully cut a hole in the plastic casing near the rear to fit the HDMI port.
- The mod board connects to the CPU and PPU via custom ribbon cables - no soldering to the chips themselves.
- You solder power and ground wires directly to the motherboard’s voltage regulator.
- A small M2 machine screw holds the board in place to prevent rattling.
This mod outputs a clean 480p signal. It supports both NTSC and PAL systems. You’ll need a precision screwdriver set, a small hobby knife, and a soldering iron with a fine tip. The whole process takes 2-3 hours for a first-timer.
Electron Analog HDMI Kit (PS2, Original Xbox, Dreamcast)
This kit is more advanced - and more versatile. It works on multiple systems, including the PS2 Fat, PS2 Slim, original Xbox, and Sega Dreamcast. Unlike the Kevtris mod, it doesn’t require cutting into the shell. The kit comes with a custom top shell that already has an HDMI port cut out.- You remove the original AV port from the motherboard by desoldering four pins.
- You solder wires to the YPbPr (component video) pins and left/right audio pins.
- You connect the 5V power line from the motherboard’s power regulator.
- You install the mod board using M2 screws and set jumpers for audio (analog or digital) and video mode (component or VGA).
The Electron Analog board outputs 480p, 720p, and even 1080i on compatible displays. It’s the most flexible option for multi-console setups. The kit includes a detailed pinout diagram and step-by-step instructions. If you’ve ever done a PS2 memory card mod, this is a similar level of difficulty.
What You Need Before You Start
You can’t just open a console and hope for the best. Here’s what you need to have on hand:- Soldering iron with temperature control (preferably 60-80W, fine tip)
- Desoldering pump or braid - essential for removing old connectors
- Precision screwdriver set - many consoles use tri-wing or security screws
- Anti-static wrist strap - static can kill a motherboard in seconds
- Small pliers and tweezers - for handling tiny wires and connectors
- Isopropyl alcohol and cotton swabs - to clean flux residue after soldering
- Working HDMI cable and TV - to test before reassembling
If you’ve never soldered before, practice on an old circuit board or a broken gadget first. Don’t risk your NES on your first try.
Installation Steps (General Process)
While every mod is different, the core steps are the same:- Power down the console and unplug everything. Remove the battery if it has one (like the SNES).
- Take photos at every step. Label screws and parts. You’ll thank yourself later.
- Open the case and locate the video output section - usually near the AV port or around the main chips.
- Remove the original AV port (if replacing it) using desoldering tools. Don’t force it.
- Follow the mod kit’s wiring diagram. Solder power, ground, video, and audio lines precisely. Double-check polarity.
- Mount the HDMI board securely. Use the provided screws. Loose boards cause intermittent signals.
- Reassemble the console but leave the HDMI port exposed.
- Test with a TV before sealing everything. If you see snow, black screen, or no audio, power off immediately and check connections.
- If it works, seal the case, secure all screws, and enjoy.
Most mods fail because of poor solder joints or wrong voltage. A single cold joint can ruin the whole thing. If the image flickers, reheat the connections. If there’s no signal, check the ground wire - 90% of failures are due to bad grounding.
What Doesn’t Work - And Why
Some people try to use cheap HDMI adapters that plug into the cartridge slot or AV port. These don’t work. They’re just passive converters that can’t handle the signal quality. The NES doesn’t output digital video - it outputs analog. You can’t convert analog to digital without a real video processor. Another myth: “Just use a component cable.” Component cables (YPbPr) are better than composite, but they’re still analog. They don’t give you the clean, lag-free signal you get from a true HDMI mod. And not all consoles support component - only the PS2, GameCube, and Wii do. The Wii has progressive scan, but only with component cables. The GameCube supports 480p too, but only on early models. Neither gives you HDMI. If you want HDMI on those systems, you still need a mod.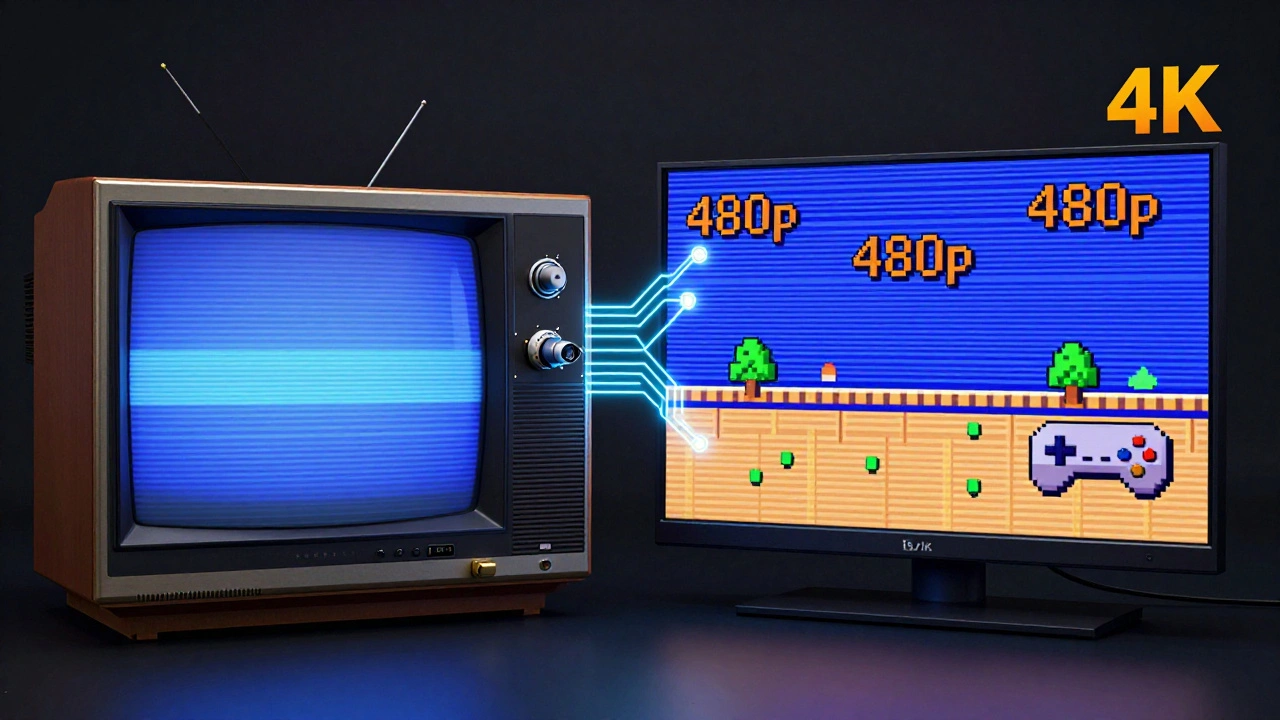
Alternatives If You Don’t Want to Mod
Not everyone wants to open up their console. That’s fine. Here are two solid alternatives:- Game Stick Lite 4K - a $35 device that streams classic games via emulation. It outputs true HDMI, supports dozens of systems, and has zero hardware modification. It’s not original hardware, but it’s reliable and easy.
- RGB SCART to HDMI upscaler - if you have a European console with RGB output (like a Sega Genesis Model 2), you can use an RGB-to-HDMI converter. This gives you near-mod quality without soldering. But it’s expensive and hard to find.
These aren’t replacements for a real mod - they’re workarounds. But if you’re not comfortable with tools, they’re safer.
Final Tips
- Always test before closing the case. One mistake can cost you $200 in vintage hardware. - Don’t rush. If you’re tired, stop. Soldering while fatigued leads to mistakes. - Join retro modding forums. Communities like Reddit’s r/retrobit or the HDMI Modding Discord have people who’ll walk you through your specific console. - Keep your original parts. You never know when you’ll want to restore the console to stock. - Use heat shrink tubing on all solder joints. It prevents shorts and looks professional.HDMI mods turn your old console into a modern gaming device. They’re not easy, but they’re worth it. Once you see your NES running in 480p on a 4K TV, you’ll understand why so many people spend hours on these projects. It’s not just about better picture quality - it’s about preserving the experience.
Can I install an HDMI mod on any retro console?
Not all consoles are moddable. The NES, SNES, PS2, original Xbox, and Dreamcast have well-documented mods. Consoles like the Atari 2600, TurboGrafx-16, or Sega CD have limited or no HDMI mod options because their video output isn’t easily accessible. Always check compatibility before buying a mod kit.
Do HDMI mods cause damage to my console?
If done correctly, no. A proper HDMI mod doesn’t alter the original chips - it just adds a new output path. But poor soldering, incorrect voltage, or static discharge can permanently damage the motherboard. Always follow the instructions, use anti-static gear, and test before final assembly.
Is HDMI modding reversible?
Yes, if you keep the original parts. Most mods replace the AV port but don’t remove chips. You can desolder the HDMI board and reinstall the original connector. Some mods require cutting the casing, which is permanent - but you can patch it with a custom shell or cover.
How much does an HDMI mod cost?
Mod kits range from $40 to $120 depending on the console and features. The Kevtris NES mod is around $65. The Electron Analog kit for PS2 is $85. External RCA-to-HDMI converters cost $15-$30 but offer lower quality. Don’t forget to budget for tools if you don’t already have them.
Do HDMI mods add input lag?
No, not if the mod is designed well. True HDMI mods bypass analog processing and send digital signals directly. External converters add lag because they upscale the signal. The Kevtris and Electron Analog kits are designed for low-latency output - often under 1 frame of delay, which is undetectable during gameplay.